Intigriti 0921 - XSS Challenge Writeup (XSS through namespace confusion)
- Published on
Introduction
In this blog post, I am going to walk through Intigriti’s September XSS challenge by @BugEmir and Pepijn van der Stap. I will explain how I approached and solved this challenge. This is my first ever write-up so I hope you enjoy reading and learn something new. The goal of this challenge is to pop an XSS alert that executes alert(document.domain).
Website Overview
Let’s start by looking at the main challenge page. When we scroll down, there is another page loaded inside an <iframe>. The page that is being loaded is https://challenge-0921.intigriti.io/challenge/manager.html

It is a password manager where we can enter a password to be saved. So let’s try to add a password to see what happens.

But that gives an error because we need a parameter.
Sourcecode Analysis
In the HTML source code, we can see that there are 2 javascript files used.
<script async src="manager.js"></script>
<script src="sweetalert.min.js"></script>
sweetalert.min.js
The sweetalert.min.js javascript file is used for popup messages. Which can be used as a replacement for JavaScript’s alert. I searched for any known vulnerabilities for SweetAlert but there weren’t any. A good website to check for known vulnerabilities in libraries is Snyk. Since there are no known vulnerabilities for SweetAlert, I ignored it and started looking at the other javascript file.
manager.js
This javascript file is obfuscated to make it difficult to understand. I tried to use an online tool to deobfuscate it, but that didn’t really help me. But we can still reverse it by ourselves.

Since the error message was asking for a parameter, I started by searching for the keyword “param”. And I found the following function:
function i(k) {
  let l = new URLSearchParams(window[_0x5195[0x25ef + -0x14e7 * -0x1 + -0x382b]][_0x5195[0x73 * 0x4d + -0xb3 + -0x1f3a]]);
  let m = l[_0x5195[-0xc21 + -0x4ad * 0x8 + 0x1ef * 0x1b]](k);
  return m;
}
But what does it do? To figure out what this function does I used the Chrome DevTools Console.
The variable _0x5195 is an array that contains 712 strings. By pasting the obfuscated part _0x5195[0x25ef + -0x14e7 * -0x1 + -0x382b] in the console we can see that it returns the string “location”.

By using this method we can fully decode the function to:
function i(k) {
    return new URLSearchParams(window.location.search).get(k);
}
This function returns the value of a given URL parameter. Let’s keep this in mind and look where this function is used.

The function i is used 21 times. When I was searching I also noticed something interesting at the end of the script. There was a variable called AntiH4Ck3RC0D3zzzzzzzzz. Since the script was very long I decided to look at the function closest to the “anti-hacker code” variable first.
var l = i(_0x5195[-0x1fb * -0x11 + 0x14 * 0xb1 + -0x2cc4])[_0x5195[0x5 * 0x673 + 0x48e + -0x2213]](_0x5195[0x1 * -0xc73 + -0x691 + 0x139c], _0x5195[0x96b + 0xb59 + 0x1f * -0x95]);
Now let’s decode it using the Chrome DevTools console.
var l = i("password").replaceAll(" ", "+");
As we remember the function i returns the value of a given URL parameter. This means the variable l stores the value of the parameter “password” and replaces the spaces with a plus sign. Now we found a parameter so let’s try to use that to see if we still get an error message.

No error message this time! But our password is not “amsterdam_coffeeshops”. So let’s look at the source code again to see what really happens.
The next part of the code is (decoded):
if (e(l) == true) {
   var m = atob(l); // Base64 decoded value of the "password" parameter
} else {
   var m = "amsterdam_coffeeshops";
   console.log("try harder");
};
If the if statement returns True the value of “password” gets Base64 decoded and gets stored in the variable m. Else the variable gets the default value “amsterdam_coffeeshops”.
It took me a while to figure out what the function e(l) does. But after playing with it in the Chrome console, I understood it. It basically checks if the given string is valid Base64. If it is valid Base64 the function returns True otherwise, it returns False.

Let’s try a Base64 encoded password value now.


And it gets reflected. We are getting closer!
Creating the final payload
My next step was to try to inject a simple XSS payload like <script>alert(document.domain)</script> or <img src=x onerror=alert(document.domain)>. But that didn’t work because the payload gets sanitized to prevent XSS attacks.

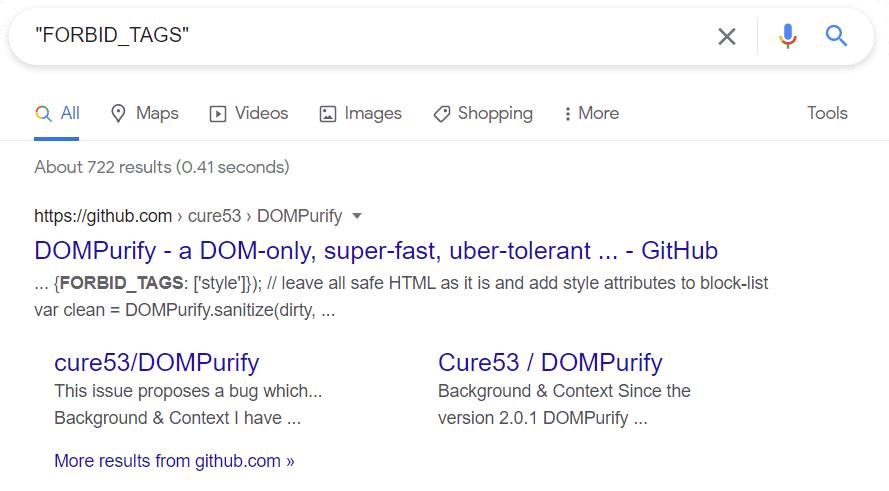
I tried different payloads, but I was not able to bypass it. But I remembered the array _0x5195 contained some interesting strings like “version”, “2.0.8”, “ALLOWED_TAGS”, “ALLOWED_ATTR”, “FORBID_TAGS”, “FORBID_ATTR”, etc.
I decided to google those strings and quickly found out that DOMPurify was being used. DOMPurify is an open-source library designed to sanitize HTML strings and document objects from XSS attacks.
Now it’s time to look for a known DOMPurify bypass. With a simple Google search, I came across this research by Michał Bentkowski: https://research.securitum.com/mutation-xss-via-mathml-mutation-dompurify-2-0-17-bypass/. His research explains how he was able to bypass DOMPurify with MathML namespace confusion. I highly recommend reading his blog post.
Payload used to bypass DOMPurify:
<form>
<math><mtext>
</form><form>
<mglyph>
<style></math><img src onerror=alert(document.domain)>
Let’s try if that payload works. We need to Base64 encode the payload and add that to the password parameter to create the final link:
Now we can visit the link. Add a random password. And there we go! We successfully executed the XSS popup! 🥳

I hope you enjoyed reading my first write-up! If you have feedback or any questions about this write-up, you can contact me on Twitter.